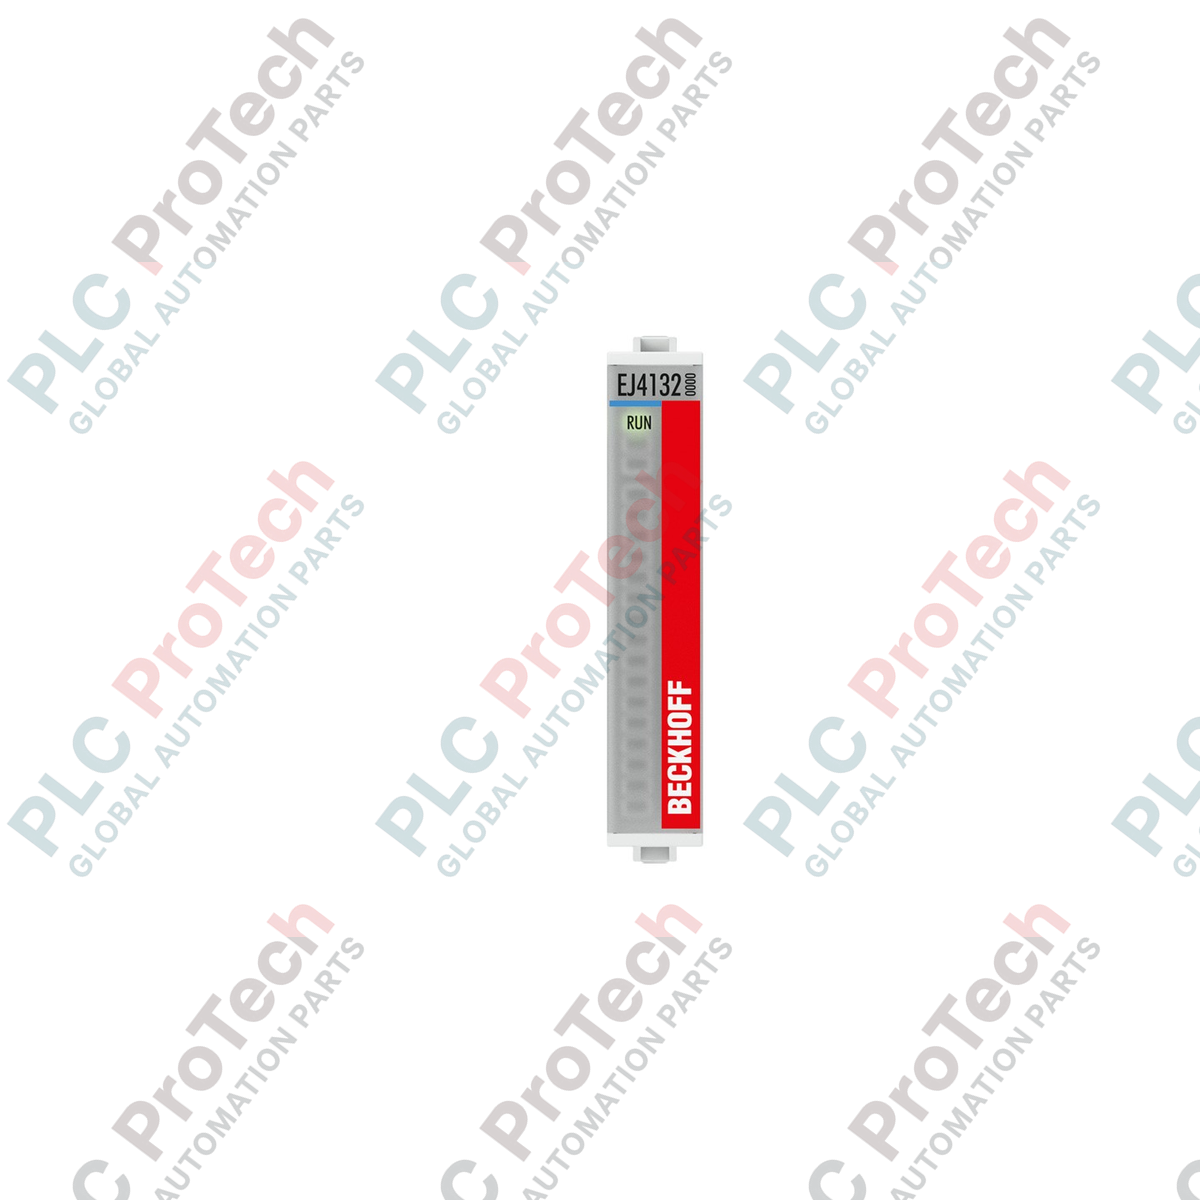
Description
Engineered for high-volume, automated cabinet assembly, the Beckhoff EJ4132 analog output plug-in module provides highly accurate voltage signals within the EtherCAT I/O system. By outputting signals in the range of -10 to +10 V, this dual-channel module interfaces seamlessly with actuators, drive amplifiers, and industrial controllers requiring analog setpoints. It mounts directly onto a application-specific signal distribution board, reducing manual point-to-point wiring and optimizing manufacturing throughput for machine builders.
Features
-
Two independent analog outputs with single-ended, 2-wire connection architecture.
-
16-bit resolution (including sign) for high-precision voltage control.
-
Distributed Clocks (DC) integration ensuring output synchronization precision of under 1 microsecond.
- Short-circuit proof design capable of driving resistive loads greater than 5 kOhm.
- Parametrizable Watchdog state and configurable user synchronization options.
- Galvanic isolation of 500 V between the E-bus and field potential to safeguard backplane communications.
Applications
- Set-value inputs for analog servo drives and variable frequency drives (VFDs).
- Proportional valve control in hydraulic and pneumatic machinery.
- Signal emulation and hardware-in-the-loop (HIL) testing rigs.
- High-density modular control cabinets for serial machine production.
Technical Specifications
| Parameter |
Value |
| Manufacturer |
Beckhoff Automation |
| Model Number |
EJ4132 |
| Number of Outputs |
2 |
| Signal Voltage Range |
-10 V to +10 V |
| Resolution |
16 bit (including sign) |
| Connection Technology |
2-wire, single-ended |
| Distributed Clocks (DC) |
Yes, accuracy < 1 microsecond |
| Load Impedance |
> 5 kOhm (short-circuit proof) |
| Output Limit Error |
< 0.1% (relative to full scale value) |
| Conversion Time |
approx. 40 microseconds |
| Current Consumption (E-bus) |
typ. 185 mA |
| Electrical Isolation |
500 V (E-bus / field potential) |
| Operating Temperature |
-25 degC to +60 degC |
| Storage Temperature |
-40 degC to +85 degC |
| Relative Humidity |
95%, non-condensing |
| IP Protection Rating |
IP20 |
| Approvals |
CE, UL |
| Device Net Weight |
approx. 30 g |
| Shipping Weight (Calculated) |
0.15 kg |
Empirical Engineering Insights
Alternative Models & Compatibility
The EJ4132 plug-in module functionally mirrors the standard DIN-rail mounted EL4132 EtherCAT Terminal. They share the identical process image, configuration parameters, and registers within TwinCAT. If migrating from the EL4132 to the EJ4132 for serial machine production, software modifications are not required; however, the physical infrastructure must transition to an EJ-series signal distribution board.
Application Pitfalls & Engineering Notes
Because the EJ4132 relies entirely on the host signal distribution board (PCB) for routing, crosstalk and electromagnetic interference (EMI) can occur if analog traces are run parallel to high-current power channels on the motherboard. Ensure that the motherboard's analog ground reference tracks are completely separated from the digital and switching fields to prevent signal degradation or offset drift.
Commissioning & Calibration Tips
During commissioning in TwinCAT 3, always check the "CoE - Online" tab to adjust the user offset and gain registers if the long-distance cabling to the actuator introduces minor resistive voltage drops. Furthermore, verify that the active E-bus power budget of the coupler (e.g., EJ1100) is sufficient, as the EJ4132 draws a nominal 185 mA from the 5V E-bus.
Installation Guidelines
CRITICAL WARNING: SAFETY COMPLIANCE
De-energize all primary, field, and E-bus power supplies before inserting, removing, or handling the EJ4132 module. Hot-plugging or un-plugging the module into a live signal distribution board can permanently damage the E-bus transceiver interfaces and corrupt the physical connection pins on the motherboard connector.
1
Inspect the coding pins on the underside of the EJ4132 module to ensure alignment with the keyed receptor slot on the signal distribution board.
2
Press the module perpendicular to the board surface until the physical locking latch snaps securely into place, ensuring complete pin engagement.
3
Apply backplane and field power, scan the EtherCAT network topology in TwinCAT, and verify the physical Run LED on the module switches to green.