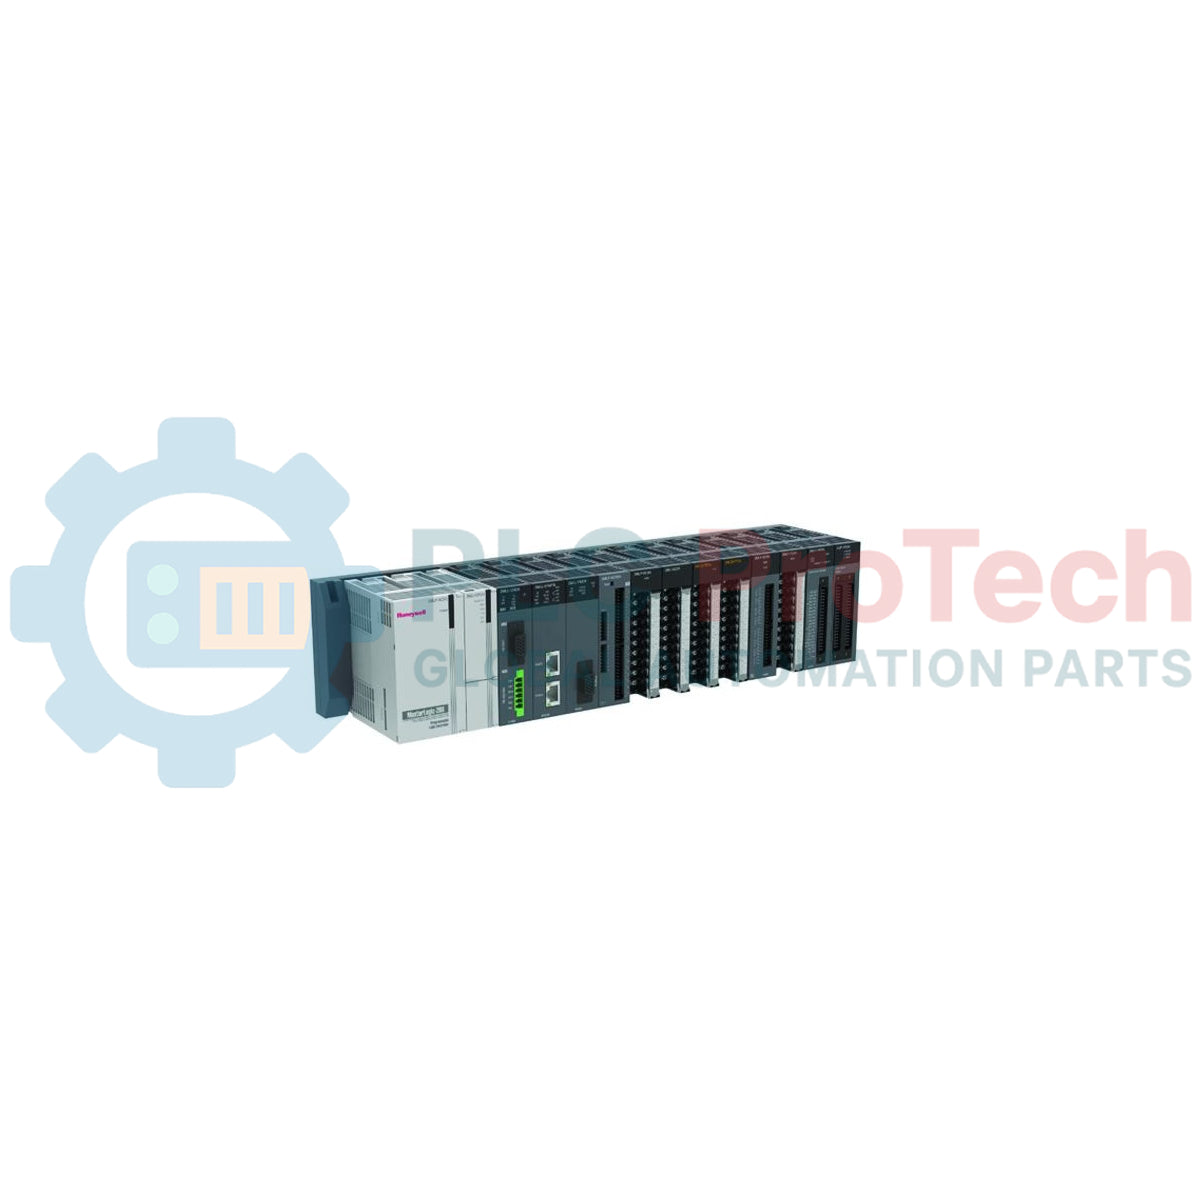
Description
Designed to facilitate high-speed, deterministic remote I/O communication, the Honeywell 900S75-0460 functions as a dual-port distributed I/O scanner within the ControlEdge 900 and HC900 hybrid controller platforms. This module interface bridges the gap between the central processor and remote hardware racks, enabling real-time diagnostic reporting and high-availability network configurations over dual Ethernet paths. Built for severe industrial environments, it maintains steady communication links to prevent process disruptions in critical manufacturing and refining operations.
Features
- Dual RJ45 Ethernet interfaces supporting redundant network ring and star topologies.
- Seamless integration with ControlEdge 900 and HC900 chassis systems.
- Fast diagnostic feedback via front-panel LED indicators.
- Hot-swappable module construction reduces downtime during field service interventions.
- Dedicated processing power onboard to manage local I/O bus scanning independently.
Applications
- Distributed process control networks in oil, gas, and petrochemical refining.
- Remote telemetry systems for municipal water and wastewater treatment facilities.
- Multi-rack boiler control and heat-treatment furnace monitoring.
- Distributed power generation and utility substation automation.
Technical Specifications
| Parameter |
Specification |
| Manufacturer |
Honeywell |
| Model Number |
900S75-0460 |
| Series Link |
ControlEdge 900 / HC900 System |
| Module Type |
Remote I/O Scanner Module |
| Communication Ports |
2 x RJ45 Ethernet Ports (Dual-Port) |
| Data Rates |
10/100 Mbps, Auto-sensing |
| Operating Temperature |
0 to 60 degC |
| Storage Temperature |
-40 to 85 degC |
| Humidity Limits |
5% to 95% RH, non-condensing |
| Net Weight |
400 g |
| Shipping Weight (Calculated) |
1.5 kg (including structural packaging) |
Connections and Interfaces
| Interface Label |
Connection Assignment |
Functional Detail |
| Port 1 |
RJ45 Ethernet Connection |
Primary scanner network communication link. |
| Port 2 |
RJ45 Ethernet Connection |
Secondary link for redundant ring or star network loops. |
| LED - OK |
System Diagnostics |
Green indicator for normal module execution status. |
| LED - Link/Act |
Ethernet Port Activity |
Flashes green to signal active data transmission. |
Empirical Engineering Insights
Alternative Models & Compatibility: The 900S75-0460 scanner module serves as a Direct Replacement or expansion node for systems built on the Honeywell HC900 and ControlEdge hardware portfolios. Ensure that the main CPU module's controller firmware is upgraded to a version compatible with dual-port Ethernet redundancy before deploying this scanner into a live topology.
Application Pitfalls & Engineering Notes: Avoid running network cabling alongside high-voltage motor starters or variable frequency drive (VFD) output cables. To preserve network packet integrity and prevent communication timeouts under heavy I/O loads, verify that your field installations employ Category 5e (or better) shielded twisted-pair (STP) cables grounded properly at the rack junction.
Commissioning & Wiring Tips: When addressing this module inside your configuration software, assign static IP structures instead of Relying on dynamic network allocation. Ensure the physical rotary or DIP address switches on the rear backplane carrier match the address assigned in the Hybrid Control Designer configuration before sliding the scanner card into its slot.
Installation Guidelines
CRITICAL WARNING: Verify that all electrical power sources supplying the target I/O chassis and surrounding circuitry are entirely de-energized prior to beginning physical mounting or removal procedures. Failure to disconnect active power can lead to dangerous electric shock hazards, module damage, or unpredictable process control operations.
1
Position the scanner module directly in front of the dedicated backplane slot of the ControlEdge 900 rack chassis.
2
Carefully slide the module along the chassis guide rails until the edge connectors engage firmly with the backplane receptacle.
3
Tighten the upper and lower integrated retention screws to secure the module against vibration-induced displacement.
4
Insert the Ethernet RJ45 network cables into Port 1 and Port 2, verifying that the retaining clips click securely into place.