Description
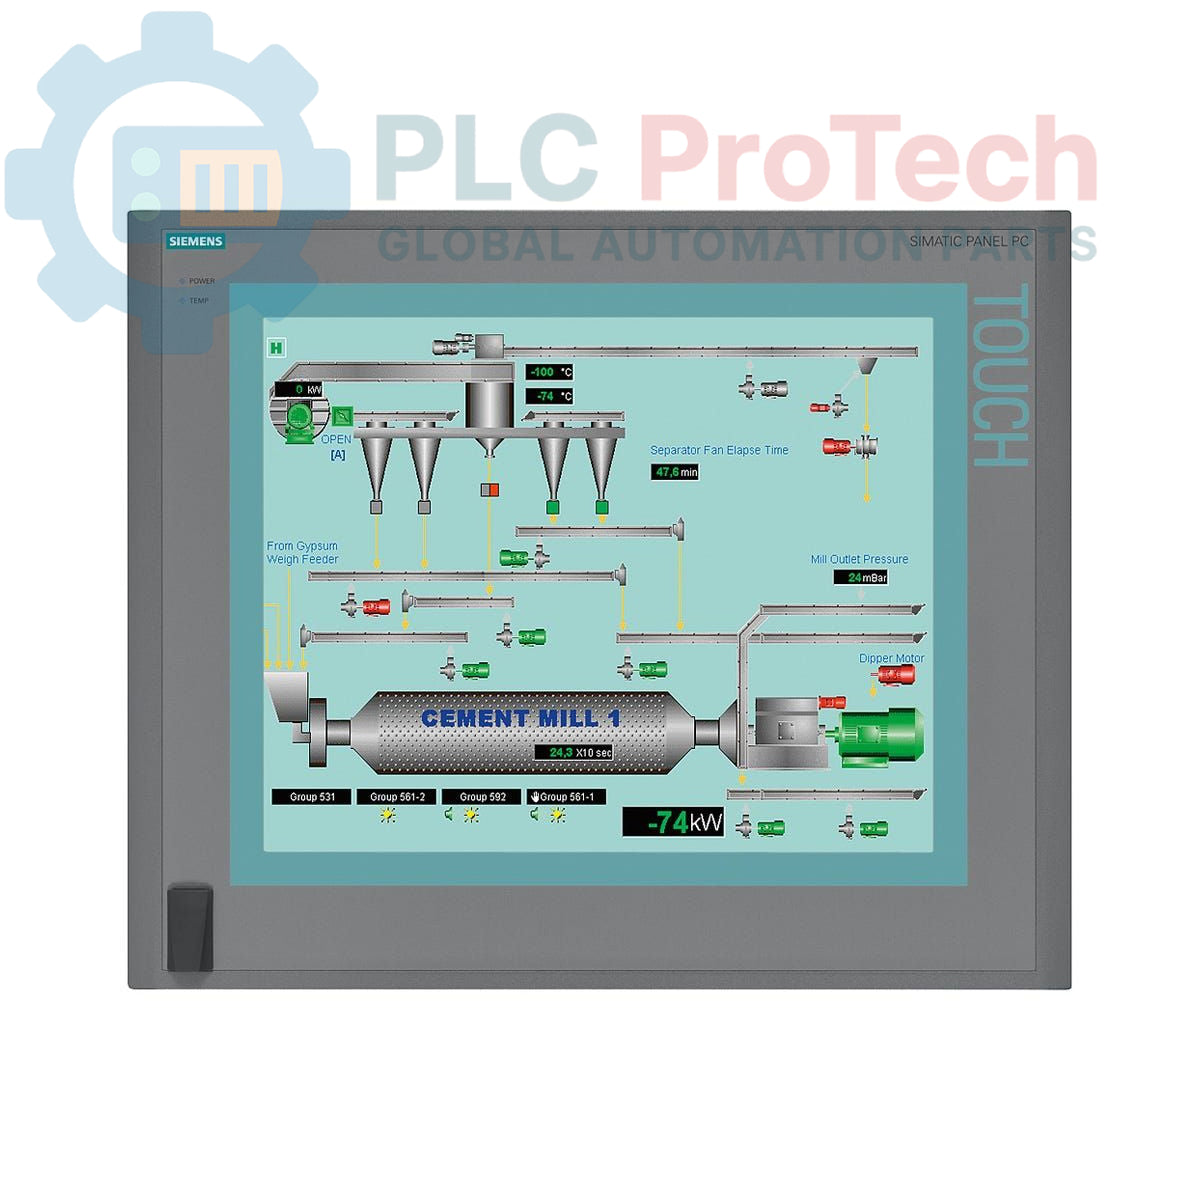
This Siemens 6AV7894-0AJ10-1AB0 is a SIMATIC HMI IPC677C Panel PC designed for demanding industrial automation and visualization tasks. It is equipped with an Intel Core i7-610E processor, 2 GB of DDR3 RAM, and a 250 GB SATA hard drive for robust performance. The unit features a large 19-inch touchscreen with a 1280x1024 resolution and a front-side USB port for convenient access. Connectivity is extensive, including dual Gigabit Ethernet ports, a dedicated PROFINET interface, and multiple USB 2.0 ports. Integrated system monitoring for watchdog, temperature, and fan status, along with an onboard RAID controller, ensures high operational reliability.
Features
- 19-inch touchscreen display with 1280x1024 pixel resolution
- Powered by an Intel Core i7-610E CPU (2.53 GHz, 2 Cores / 4 Threads)
- 2 GB DDR3 1066 DIMM system memory
- 250 GB SATA Hard Disk Drive (HDD) for application and data storage
- Integrated DVD+/-R+/-RW optical drive
- Onboard RAID controller for enhanced data integrity
- Dedicated PROFINET interface (CP 1616-compatible) with 3x RJ45 ports
- Dual 10/100/1000 Mbit/s Ethernet ports for standard network communication
- System health monitoring for watchdog, temperature, and fan
- Provides two free PCI expansion slots
Applications
- Human-Machine Interface (HMI) for complex machinery
- Process visualization and control in manufacturing plants
- Data acquisition and logging systems
- Supervisory Control and Data Acquisition (SCADA) clients
- Manufacturing Execution System (MES) terminals
Technical Specifications
| Specification |
Value |
| General |
| Manufacturer |
Siemens |
| Product Series |
SIMATIC IPC677C |
| Model Number |
6AV7894-0AJ10-1AB0 |
| Product Type |
Panel PC |
| Product Lifecycle Status |
Phase-Out |
| Processor & Memory |
| CPU |
Intel Core i7-610E (2 Cores / 4 Threads, 2.53 GHz) |
| CPU Cache |
4 MB |
| System Memory (RAM) |
2 GB DDR3 1066 DIMM |
| Buffered SRAM |
2 MB |
| Storage |
| Hard Drive |
250 GB HDD SATA |
| Optical Drive |
DVD+-R+-RW |
| RAID Controller |
Onboard |
| Display |
| Display Type |
Touchscreen |
| Display Size |
19 inch |
| Resolution |
1280 x 1024 pixels |
| Interfaces |
| Ethernet |
2x 10/100/1000 Mbit/s |
| PROFINET |
3x RJ45 (CP 1616-compatible) |
| USB |
4x USB V2.0 (rear), 1x USB (front) |
| Serial |
1x COM1 |
| System & Electrical |
| Power Supply |
24 V DC |
| System Monitoring |
Watchdog, Temperature, Fan |
| Expansion Slots |
2x PCI (free) |
| Software |
| Operating System |
Windows XP Professional SP3 MUI (DE, EN, FR, SP, IT) |
| Logistics |
| Country of Origin |
Germany |
| Package Dimensions (Calculated) |
67.0 x 55.0 x 28.0 cm |
| Shipping Weight |
17.45 kg |
| Commodity Code |
85371098 |
| ECCN |
N |
Installation Guidelines
CRITICAL WARNING: Hazardous voltages may be present. All installation and maintenance procedures must be performed by qualified personnel with all power sources locked out and tagged out (LOTO). Failure to de-energize equipment can result in severe injury or death. Use appropriate Personal Protective Equipment (PPE).
-
1
De-energize System: Before installation, ensure the control cabinet and all related power sources are completely de-energized, locked out, and tagged out according to safety procedures. Verify the absence of voltage.
-
2
Prepare Panel Cutout: Verify that the mounting cutout in the enclosure panel matches the required dimensions for the IPC677C chassis. Ensure the mounting surface is clean, flat, and free of debris.
-
3
Mount the Unit: Carefully insert the Panel PC into the cutout from the front of the enclosure. Secure it from the rear using the provided mounting clamps, tightening them evenly to the manufacturer's specified torque to ensure a proper seal.
-
4
Connect Protective Earth: Connect a low-impedance protective earth (PE) conductor to the designated grounding terminal on the Panel PC chassis. This is a critical safety connection.
-
5
Connect Power: Connect the 24 V DC power supply to the unit's power input terminals. Ensure correct polarity is observed. Use appropriately sized conductors for the load and distance.
-
6
Connect Peripherals: Connect Ethernet, PROFINET, USB, and any other required communication or peripheral cables. Ensure all cables are properly seated and secured. Route cables to prevent strain and interference.
-
7
Final Checks and Power-Up: After all connections are made and verified, remove locks and tags per LOTO procedure. Re-apply power to the cabinet and power on the Panel PC. Verify successful boot-up and system operation.