Description
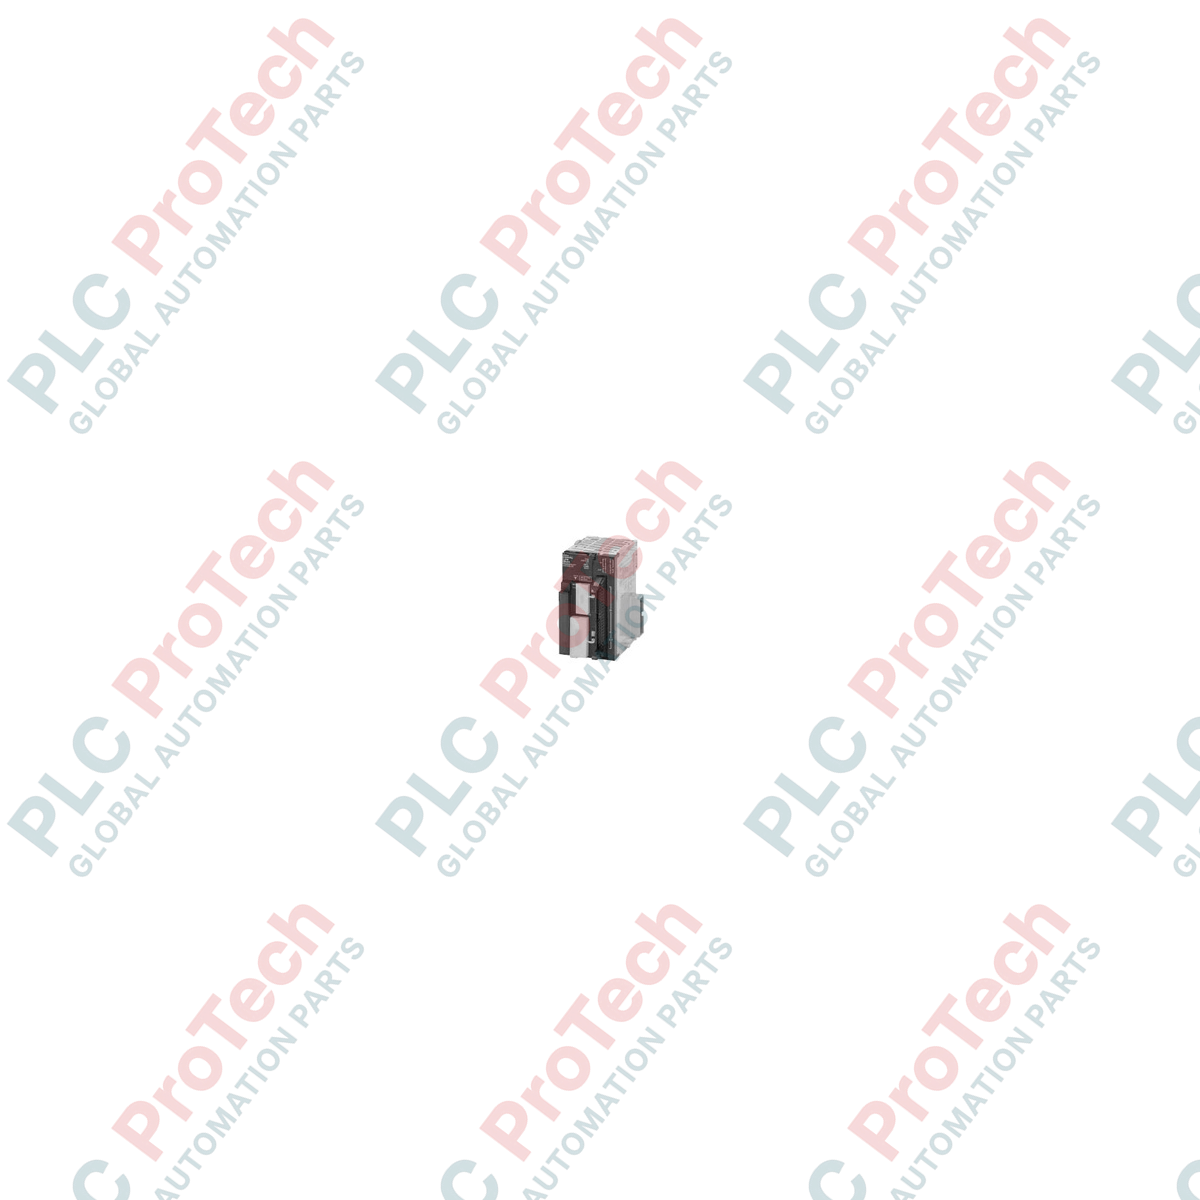
Managing localized machine control tasks, the Omron CJ1M-CPU11 serves as an industrial-grade central processing unit designed for the SYSMAC CJ series modular architecture. This controller provides automated sequencing, high-speed instruction execution, and reliable field communications for compact systems. It acts as the core of the local control layout, running automation routines without requiring external expansion racks, which reduces overall panel footprints and simplifies backplane wiring layouts.
Features
-
Localized Backplane Footprint: Supports up to 10 connectable CJ-series modules directly on the CPU rack.
-
Efficient Instruction Engine: Processes logical LD instructions in 100 nanoseconds and MOV instructions in 0.3 microseconds.
-
Dual Integrated Communication Ports: Features a dedicated peripheral port and a standard RS-232C serial port for programming, HMI connectivity, or third-party communications.
-
CompactFlash Card Integration: Built-in slot accepts external memory cards for easy recipe management, backup files, and data logging.
-
Simplified System Maintenance: Program storage of 5 Ksteps and data memory of 32 Kwords allows solid code optimization for dedicated machinery.
Applications
- Custom packaging machinery and cartoning systems.
- Localized conveyor systems and sorting stations.
- Automated environmental control and pumping stations.
- Dedicated assembly cells and pick-and-place systems.
Technical Specifications
| Specification Parameter |
Value / Rating |
| Manufacturer |
Omron |
| Model Number |
CJ1M-CPU11 |
| Series |
SYSMAC CJ1 |
| I/O Points Capacity |
160 points max. |
| Maximum Connectable Units |
10 modules (single CPU rack only) |
| Expansion Rack Support |
Not supported |
| Program Capacity |
5 Ksteps |
| Data Memory Capacity |
32 Kwords (DM area only, no EM area) |
| LD Execution Speed |
100 nanoseconds |
| MOV Execution Speed |
0.3 microseconds |
| Overhead Time |
0.7 milliseconds |
| Built-in Interfaces |
1x Peripheral port, 1x RS-232C port |
| Mounting Options |
CompactFlash card slot (Memory Card) |
| Internal Subroutines / Jumps |
256 |
| Scheduled Interrupts |
1 |
| Current Consumption |
0.58 A at 5 VDC |
| Shipping Weight (Calculated) |
1.5 kg |
| Package Dimensions (Calculated) |
150 x 120 x 100 mm |
Empirical Engineering Insights
Alternative Models & Compatibility
The module serves as a direct upgrade path from legacy CQM1 series controllers, though the layout and address structure of CX-Programmer must be modified during translation. If you require extended data capacity or modular network expandability via secondary racks, consider step-up units like the CJ1M-CPU12 or the newer CJ2M-CPU11 which introduce native USB peripheral ports and expanded memory configurations.
Application Pitfalls & Engineering Notes
Because this CPU does not support expansion racks, users cannot install bus transceiver cards (such as the CJ1W-II101) to link secondary chassis. Ensure that all required I/O points and functional specialty modules (such as analog, temperature control, or serial communications modules) fit within the single 10-slot layout limit. Exceeding this limit will trigger backplane allocation faults upon CPU diagnostic initiation.
Commissioning & Wiring Tips
When routing serial lines to the built-in RS-232C port, use multi-conductor shielded twisted-pair cables with the shield terminating exclusively at the main power supply ground terminal on the PLC backplane. This practice suppresses high-frequency induction spikes common around variable frequency drives (VFDs) and heavy switching contactors, ensuring stable communication between the CPU and HMIs.
Installation Guidelines
CRITICAL WARNING:
Isolate and lock out all field power circuits prior to installing or removing the CPU unit from the DIN rail assembly. Working on a live system risks backplane short-circuit events, software corruption within the EEPROM, or destruction of the internal ASIC transceivers.
1
Align the top rear mounting slot of the CPU module with the upper track of the standard 35mm DIN rail, ensuring the unit sits square to the surrounding hardware modules.
2
Carefully push the bottom of the controller inward until the yellow locking latch underneath engages with an audible click, securing the assembly in place.
3
Slide the module laterally along the rail to mate the backplane connectors securely with the power supply and adjacent I/O modules, locking the yellow slide pins on top and bottom.
4
Connect the peripheral tool cable or serial programming link, configure the integrated DIP switches to the appropriate baud settings, and initiate standard boot diagnostics via CX-Programmer.