Description
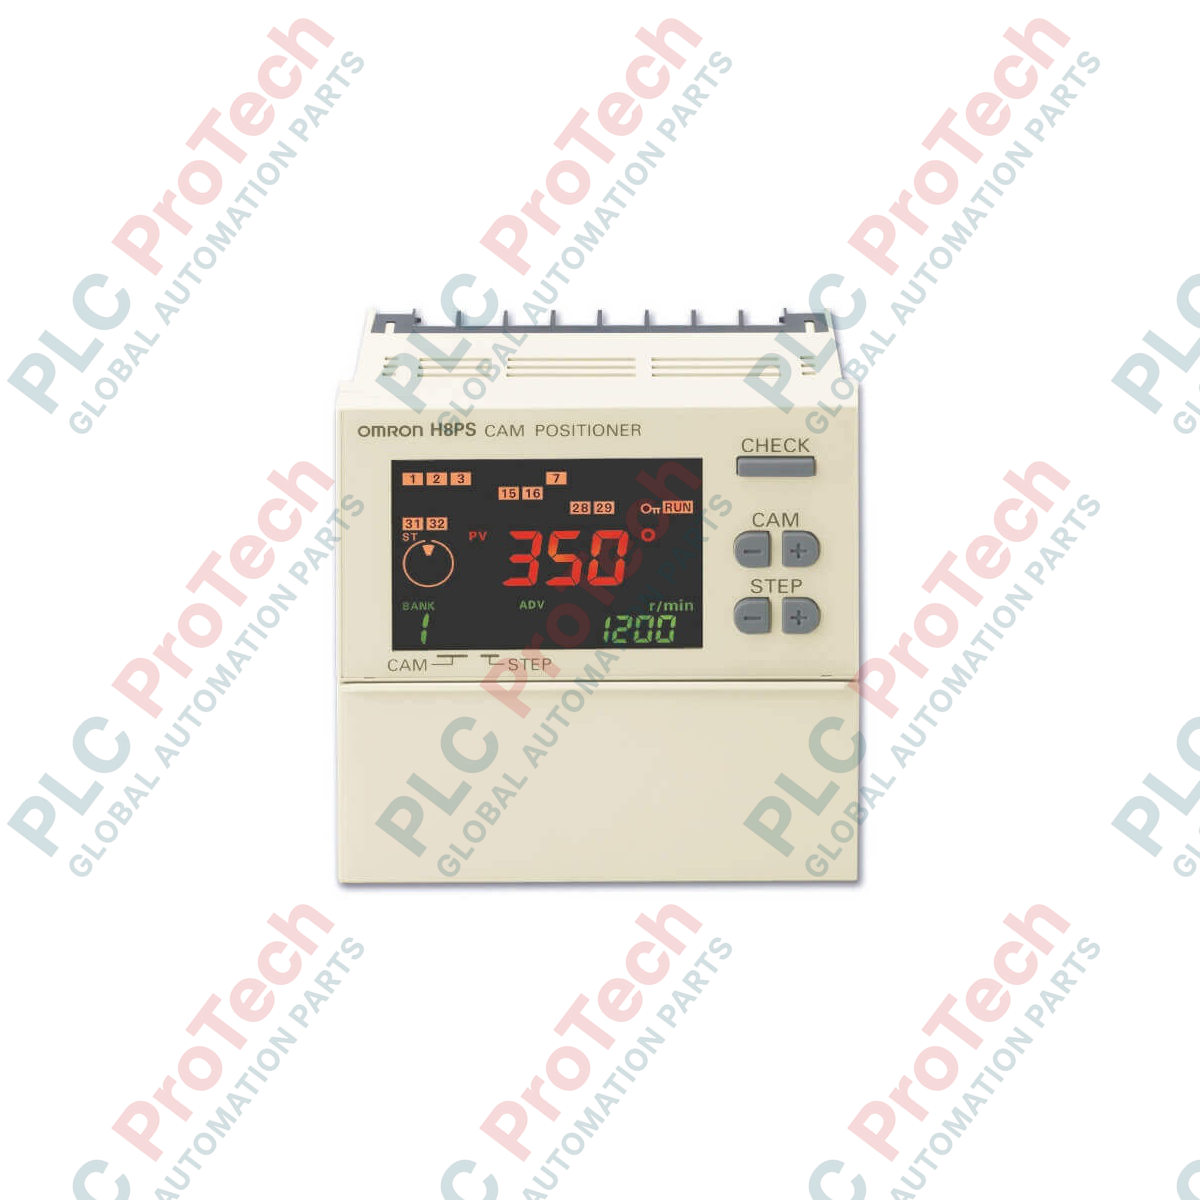
Designed to execute high-speed, high-precision timing control in rotary automation applications, the Omron H8PS-16BP Cam Positioner coordinates mechanical operations via real-time rotary encoder tracking. This 1/4 DIN panel-mount controller serves as a solid-state replacement for mechanical cam switches, eliminating physical wear and reducing system maintenance downtime. Equipped with 16 PNP transistor outputs, the H8PS-16BP allows operators to precisely program ON/OFF angles to match specific mechanical cycles. The integrated back-lit LCD provides clear operational feedback, while standard front-panel keys and an intuitive DIP switch permit rapid configuration of encoder rotation directions (CW/CCW) directly on the factory floor.
Features
-
16 PNP Transistor Outputs: High-density solid-state output bank configured for industrial PNP control circuits.
-
Hardware Rotation Switching: Integrated DIP switch simplifies encoder direction adaptation between forward (CW) and reverse (CCW) modes.
-
Compact 1/4 DIN Form Factor: Standard 96 x 96 mm front panel profile ensures straightforward integration into existing control enclosures.
-
High-Visibility Backlit LCD: Ensures clear monitoring of current angles, speed, and active step parameters in dimly lit industrial environments.
-
On-Panel Mounting Design: Designed for flush-mounting on control panels with minimal depth footprint behind the door.
Applications
-
High-Speed Packaging Machinery: Synchronization of sealing jaws, film feeding, and product ejectors.
-
Stamping and Press Control: Precise timing coordination for material feeders, lubrication systems, and safety light curtains relative to crank angle.
-
Rotary Indexing Tables: Step-by-step position validation and tool actuation timing.
-
Assembly and Cartoning Systems: Timing sequence coordination for pneumatic cylinders and pick-and-place mechanisms.
Technical Specifications
| Parameter |
Specification |
| Manufacturer |
Omron |
| Model / SKU |
H8PS-16BP |
| Device Type |
Cam Positioner |
| Supply Voltage |
20.4 to 26.4 V |
| Input Configuration |
Absolute Rotary Encoder |
| Output Type |
PNP Transistor |
| Number of Outputs |
16 Channels |
| Housing Size |
1/4 DIN (96 x 96 mm) |
| Dimensions (W x H x D) |
96 mm x 96 mm x 67.5 mm |
| Display Technology |
LCD with Backlight |
| Installation Method |
On-Panel (Flush Mount) |
| Device Weight |
Approximately 300 g |
| Shipping Weight |
1.5 kg |
Empirical Engineering Insights
Alternative Models & Compatibility
The Omron H8PS series features distinct output topologies. Note that the H8PS-16BP variant utilizes PNP transistor outputs, making it the required replacement for sourcing-type logic configurations. If you are replacing an older NPN variant (such as the standard H8PS-16B), you must verify that the downstream PLC input cards or relays are updated to support the active-high PNP current output architecture. Ensure that the dedicated absolute encoder model matches the resolution configured on the H8PS controller before system startup.
Application Pitfalls & Engineering Notes
When deploying the cam positioner in high-vibration applications, ensure the panel mounting brackets are evenly torqued to avoid warping the outer plastic frame. A critical application limitation involves the encoder cable length: excessive runs without proper shielding can introduce signal propagation delays and high-frequency noise, which may manifest as sporadic angle mismatch faults. Always routing the encoder cable completely segregated from high-power 3-phase motor wiring prevents crosstalk.
Commissioning & Wiring Tips
Before powering up the system, confirm that the encoder rotation direction selection switch (DIP switch on the device) matches the physical mechanical rotation. Setting this parameter incorrectly will result in reversed angle calculations, potentially causing mechanical interference. Always ground the shielded encoder cable at the single dedicated terminal of the H8PS-16BP rather than at multiple points, preventing ground loop noise from corrupting high-frequency encoder pulse lines.
Installation Guidelines
CRITICAL ELECTRICAL SAFETY WARNING
Isolate and lock out all AC and auxiliary power sources feeding the control enclosure before mounting, wiring, or configuring the H8PS-16BP unit. High residual capacitive charges can exist on transistor output terminals. Verify complete de-energization using a calibrated multimeter prior to starting terminal termination.
1
Cut and Prep Panel: Create a 1/4 DIN cutout measuring exactly 92 x 92 mm in the panel door. Insert the H8PS-16BP from the front, ensuring the rubber gasket is seated flatly to maintain the panel's IP/NEMA ingress rating.
2
Secure Mounts: Tighten the physical mounting adapters on both sides of the controller until the unit is flush. Do not overtighten, as this can damage the terminal block tracking on the rear.
3
Connect Encoder & Power: Terminate the absolute encoder cable using the dedicated terminal assignments. Connect the main power supply (20.4 to 26.4 V) ensuring polarity is correct.
4
Initialize DIP Switches: Set the rotation direction switch (CW/CCW) to match your encoder mounting profile prior to initial calibration and programming.