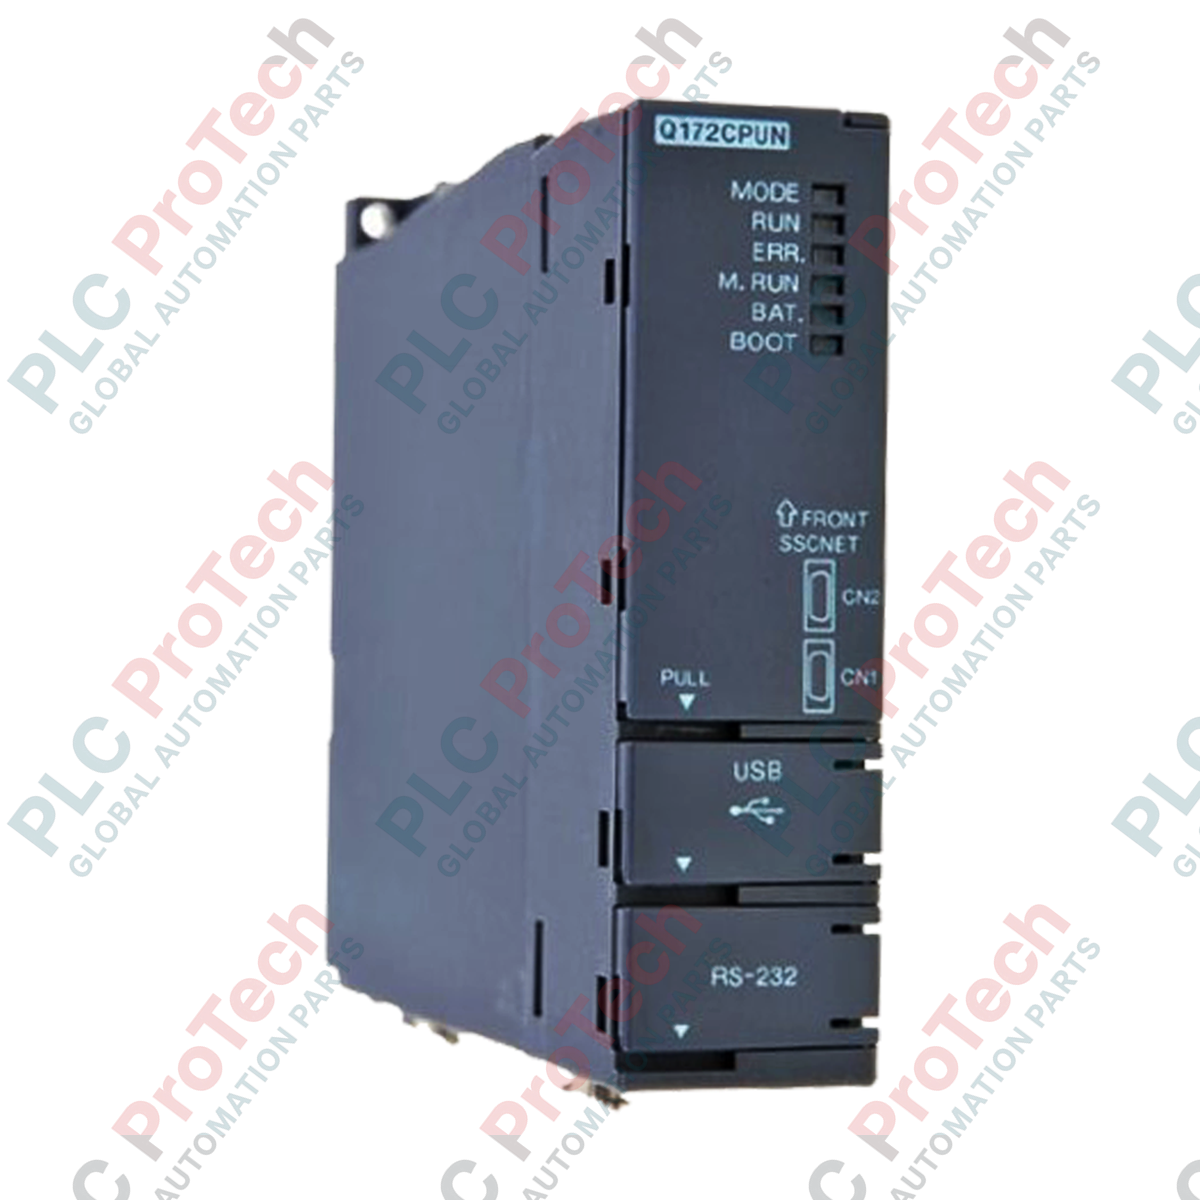
Description
Engineered for high-performance multi-axis synchronization, the Mitsubishi Electric Q173CPUN serves as a dedicated motion CPU within the MELSEC Q Series platform. This controller seamlessly integrates on the same base unit alongside standard Q Series PLC CPUs, distributing processing loads to achieve precise synchronization of complex machinery. It supports advanced motion control tasks such as virtual axis configuration, electronic camming, and synchronized gear operations while relying on highly immune fiber-optic communication interfaces to interface with external servo amplifiers.
Features
-
Multi-CPU Architecture: Installs directly onto the Q Series backplane to share data with the main host PLC CPU at high bus speeds.
-
Robust Synchronization: Executes complex electronic cams, mechanical coordinate conversions, and electronic gear ratios across multiple channels simultaneously.
-
SSCNET III Integration: Uses fiber-optic communication lines for noise-immune, high-speed data transmission to the servo drives.
-
Expanded I/O Management: Manages up to 8192 control system points to handle complex system feedback and signal mapping.
Applications
- High-speed packaging and wrapping machinery
- Multi-axis printing presses and paper converting machinery
- Automated pick-and-place systems and semiconductor manufacturing lines
- Synchronized gantry crane positioning systems
Technical Specifications Table
| Manufacturer |
Mitsubishi Electric |
| Model |
Q173CPUN |
| Series |
MELSEC Q Series |
| Module Type |
Motion Controller CPU Module |
| Number of Control Axes |
Up to 32 axes |
| I/O Points |
8192 points |
| Program Capacity |
14k steps |
| Motion Network |
SSCNET III (Fiber-Optic) |
| Operating Temperature |
0 to 55 degC |
| Storage Temperature |
-25 to 75 degC |
| Shipping Weight (Calculated) |
3.0 kg |
| Package Dimensions (Calculated) |
150 mm x 120 mm x 100 mm |
Connections and Interfaces
| Interface Type |
Physical Description & Function |
| SSCNET III Ports |
Optical fiber connector sockets for high-speed synchronization communication to MR-J3/MR-J4 series servo amplifiers. |
| Multi-CPU Interface |
High-speed backplane connector matching the MELSEC Q Series main base unit slot allocation. |
| USB Connection |
Peripheral communication port for commissioning, configuration downloading, and real-time trace diagnostics. |
Empirical Engineering Insights
Alternative Models & Compatibility
When migrating from older non-N models like the Q173CPU, verify the physical network layout. The standard Q173CPU uses copper-based SSCNET, while the Q173CPUN utilizes fiber-optic SSCNET III. This shift requires changing the communication cables to optical fiber and ensures the corresponding servo drives support SSCNET III protocols.
Application Pitfalls & Engineering Notes
Backplane power calculation is critical. Because a motion controller CPU draws higher current from the backplane 5V supply than standard digital I/O modules, you must sum the current consumption of the PLC CPU, the Q173CPUN, and all host modules to prevent overload on the system power supply (e.g., Q61P vs Q63P).
Commissioning & Wiring Tips
Handle the SSCNET III optical fiber cables with extreme care during panel wiring. Maintaining a minimum bend radius of 25 mm is critical; exceeding this limit can lead to optical signal attenuation, causing mysterious communications failures or sporadic axis fault trips (such as code 32 or 10) during high-speed operation cycles.
Installation Guidelines
CRITICAL WARNING: Prior to installing, removing, or wiring the Q173CPUN on the base unit, ensure that all phases of the external power supply used by the system are completely shut off. Failure to de-energize the assembly can cause module failure, communication corruption, or physical shock.
1
Align the bottom hook of the Q173CPUN module with the module fixing hole of the Q Series main base unit, making sure the unit sits in a designated Motion CPU slot.
2
Push the top of the module firmly onto the base unit until it clicks, then tighten the module fixing screw to the specified torque.
3
Remove the protective dust caps from the SSCNET III optical ports and insert the fiber optic cables until they securely click into place. Keep the dust caps stored safely for future maintenance.