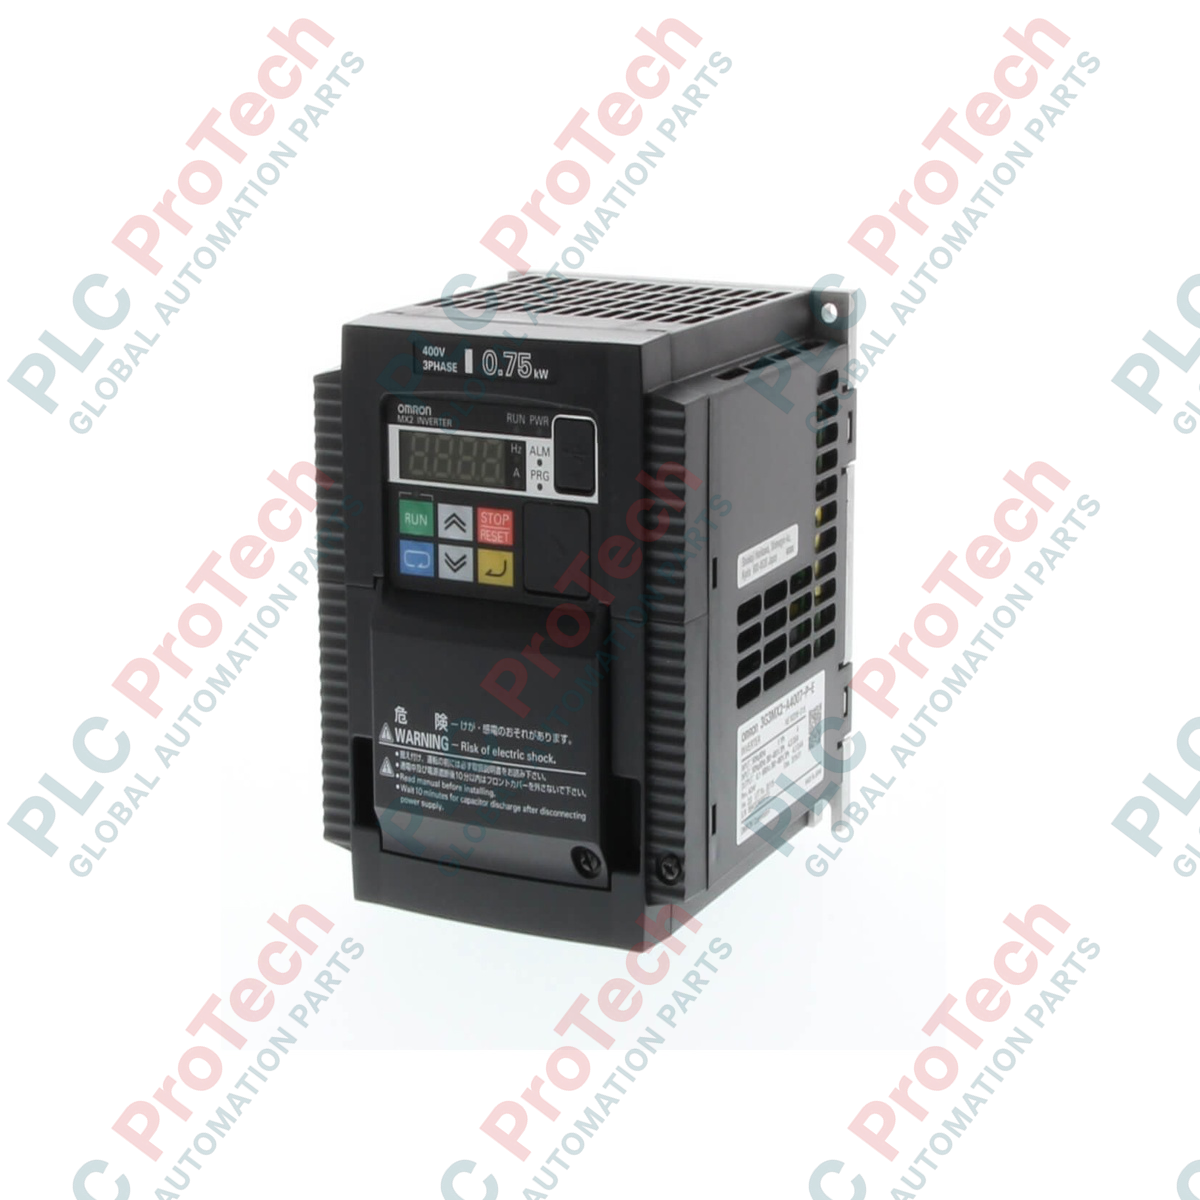
Description
Engineered for highly dynamic machine control and precise speed regulation, the Omron 3G3MX2-A4015-ZV1 serves as a high-torque multi-function compact inverter from the renowned MX2 Series. Designed to integrate directly into complex automation systems, this variable frequency drive utilizes advanced sensorless vector control algorithms to achieve up to 200 percent starting torque at 0.5 Hz, making it exceptionally reliable for high-inertia start-up loads. Equipped with a dual rating system, it allows operators to configure the drive for either heavy-duty Constant Torque (CT) or normal-duty Variable Torque (VT) operations, optimizing cost and physical footprint within control enclosures.
Key Features
-
High Starting Torque: Delivers 200 percent starting torque at 0.5 Hz under sensorless vector control mode, ensuring smooth control of demanding loads.
-
Dual Performance Rating: Supports dual rating applications (CT: 1.5 kW / VT: 2.2 kW) for flexible machinery sizing.
-
Integrated Safety: Features built-in dual-channel Safe Torque Off (STO) functionality complying with ISO 13849-1 Cat 3 PLd standards, eliminating the need for external safety contactors.
-
Embedded Logic: Built-in Drive Programming tool allows standard PLC-like logical control programs to run directly within the drive.
-
Communications Capability: Standard RS-485 Modbus RTU interface with expansion options for EtherCAT, DeviceNet, Profibus, and EtherNet/IP.
Applications
- High-speed industrial conveyors and sorting systems requiring rapid acceleration and deceleration.
- Packaging machinery with synchronized axis control and demanding duty cycles.
- Industrial mixers, agitators, and extruders requiring heavy-duty torque characteristics.
- Variable speed fan and pump configurations utilizing energy-saving modes.
Technical Specifications
| Parameter |
Value |
| Manufacturer |
Omron |
| Model Code |
3G3MX2-A4015-ZV1 |
| Product Series |
MX2 Series V2.1 / ZV1 Revision |
| Input Voltage Class |
3-phase 380 to 480 VAC (+10% / -15%), 50/60 Hz (+/-5%) |
| Motor Capacity (Heavy Duty - CT) |
1.5 kW |
| Motor Capacity (Normal Duty - VT) |
2.2 kW |
| Rated Output Current (CT) |
4.1 A |
| Rated Output Current (VT) |
4.8 A |
| Enclosure Protection Rating |
IP20 (Panel Mounting Type) |
| Control Method |
Phase-to-phase sinusoidal PWM (V/f control, Sensorless Vector) |
| Ambient Operating Temperature |
-10 to +50 degC (Without derating) |
| Net Physical Weight |
1.8 kg |
| Shipping Weight (Calculated) |
4.0 kg |
Empirical Engineering Insights
Alternative Models & Compatibility: The "-ZV1" suffix indicates an updated, firmware-enhanced model that complies fully with modernized European and North American safety profiles and improves parameter replication. It is fully backwards-compatible with older, legacy non-ZV1 3G3MX2-A4015 systems, allowing for drop-in physical and logical replacement in established control panels.
Application Pitfalls & Engineering Notes: When operating the drive in a sealed enclosure under high-ambient plant environments (approaching 50 degC), derating calculations must be carefully evaluated. Maintain a minimum of 100 mm top and bottom clearance to avoid local thermal traps. For continuous heavy cyclical start-stop profiles, external dynamic braking resistors are highly recommended to prevent overvoltage trips (DC bus overvoltage errors) during sudden deceleration phases.
Commissioning & Wiring Tips: To meet EMC directive requirements, motor cables must be fully shielded, with the shielding grounded securely at both the motor housing and the drive panel chassis. When routing analog control signals (e.g., 4-20 mA or 0-10 V for speed reference), ensure cables are run in a separate conduit from high-voltage input and output power feeds to prevent electromagnetic noise coupling.
Installation Guidelines
CRITICAL WARNING:
Ensure all main power sources (L1, L2, L3) are locked out and tagged out prior to making physical connections. Wait a minimum of 10 minutes after disconnecting power for internal capacitors to fully discharge. Always verify that the DC bus voltage across terminals P/+ and N/- has dropped below 50 VDC using a certified multimeter before handling drive wiring.
1
Mount the inverter vertically to a rigid, flat metal backplate using the integrated mounting brackets to maximize heat dissipation.
2
Connect incoming 3-phase power line wiring to terminals L1, L2, and L3. Connect the three motor power leads to terminals U, V, and W.
3
Establish protective ground connections at the ground terminal. Ensure connection resistance is under 10 ohms (Class D grounding).
4
Apply power and use the digital operator panel or CX-Drive software to set critical motor parameters, including rated current, base frequency, and control selection mode.