Description
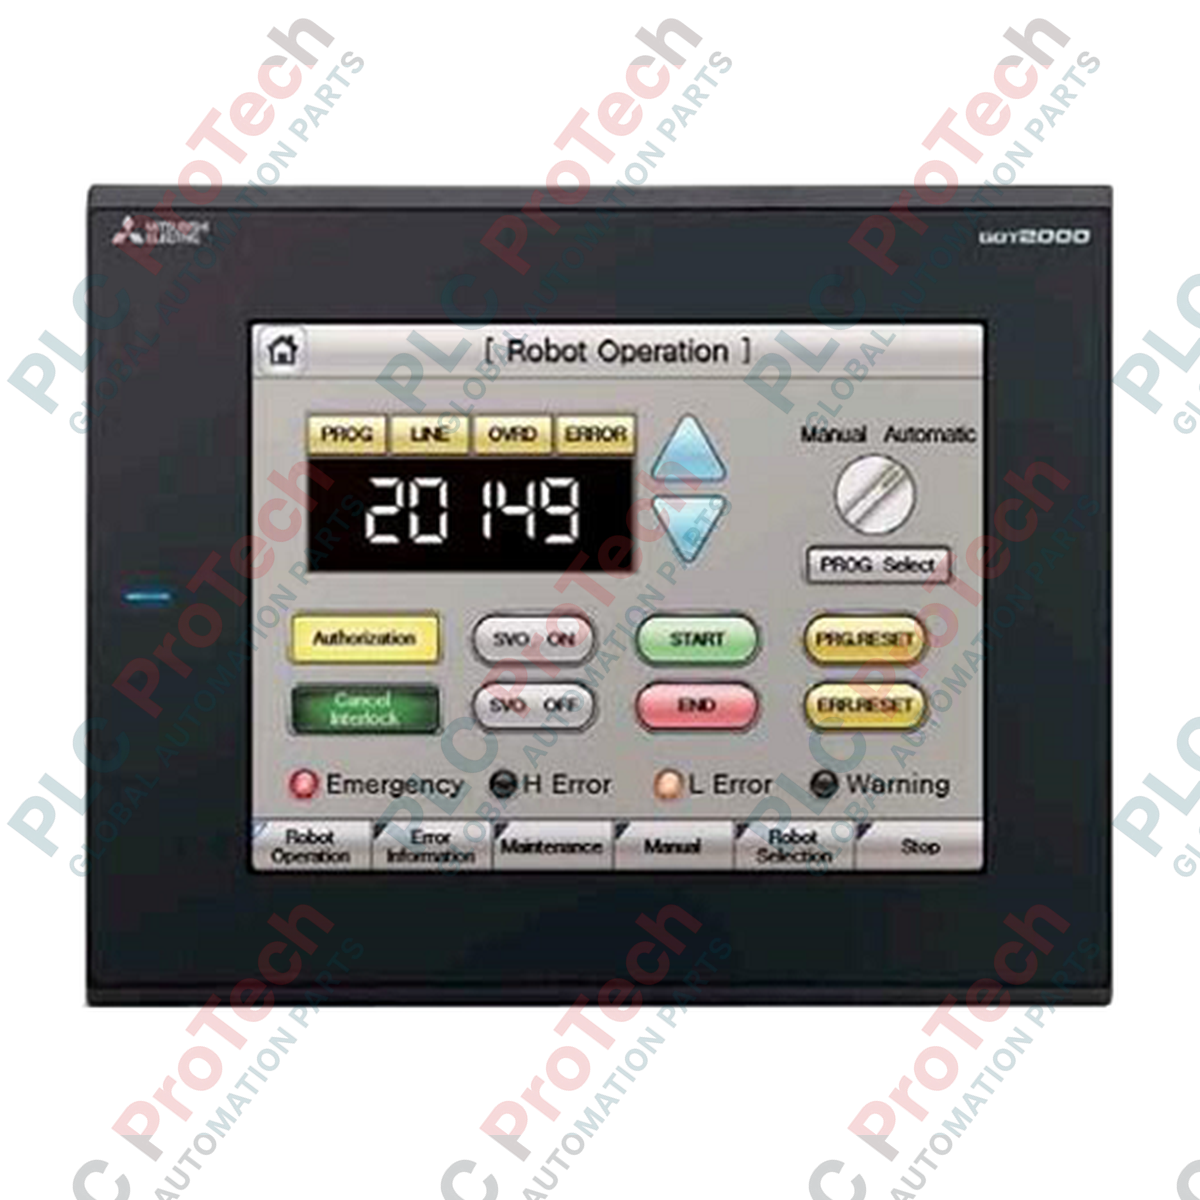
Directing system operations through high-resolution graphical interfaces, the Mitsubishi Electric GT2308-VTBD provides an efficient visualization interface for medium-scale automation networks. This GOT2000 series operator interface combines flexible serial links, Ethernet capabilities, and reliable DC power system architectures to maximize operator response times. Engineered as an integrated monitoring node, this HMI utilizes an 8.4-inch VGA TFT display to present real-time diagnostics, alarm histories, and complex process graphics with high clarity and contrast.
Key Features
- High-fidelity 8.4-inch TFT color LCD with 65,536 colors and crisp 640 x 480 dot resolution.
- Comprehensive onboard communication channels supporting Ethernet, RS-232, and RS-422/485 serial standards.
- Integrated SD memory card slot enabling local data logging, program backup, and firmware recovery.
- Robust front-panel sealing certified to IP67F, providing structural resistance against dust and low-pressure water sprays.
- Compliant with 24V DC auxiliary electrical distribution frameworks for localized panel configurations.
Applications
- Automobile assembly and precision tooling line monitoring.
- Packaging, sorting, and material handling control consoles.
- Water treatment processing, pump control, and chemical dosing systems.
- HVAC, cooling plant, and building management system coordination.
Technical Specifications
| Parameter |
Specification |
| Manufacturer |
Mitsubishi Electric |
| Model Number |
GT2308-VTBD |
| HMI Series |
GOT2000 (GT23) |
| Display Size |
8.4 inches (213 mm) diagonal |
| Display Type |
TFT color LCD |
| Resolution |
640 x 480 pixels (VGA) |
| Input Voltage Range |
24V DC (+10%, -15%) |
| Power Consumption |
15W or less (Backlight OFF: 10W or less) |
| User Memory Capacity |
9 MB built-in flash memory |
| Operating Temperature |
0 to 55 degC |
| Ingress Protection |
IP67F (equivalent to NEMA 4X front panel) |
| Product Weight |
1.5 kg |
| Shipping Weight (Calculated) |
2.2 kg |
Connections and Interfaces
| Interface Type |
Connector / Specification |
Function Assignment |
| Ethernet Port |
RJ-45 (10BASE-T/100BASE-TX) |
Host PLC communication and multi-station networking |
| Serial Port (RS-232) |
D-sub 9-pin male |
Direct point-to-point PLC connection, peripheral access |
| Serial Port (RS-422/485) |
D-sub 9-pin female |
Multi-drop networking, legacy PLC architectures |
| USB Host |
Type A (USB 2.0 High Speed) |
USB memory storage interface for data transfers |
| USB Device |
Mini-B (USB 2.0 High Speed) |
Direct PC terminal programming connection |
Empirical Engineering Insights
Alternative Models & Compatibility
The GT2308-VTBD utilizes a 24V DC bus structure. When substituting an older GOT1000 equivalent (such as the GT11 or GT15 series), ensure your existing utility power supplies can handle the DC current load, or consider the GT2308-VTBA if AC power is your primary standard. Project file databases are cross-compatible but require compilation and adjustment via GT Works3 software suites before execution.
Application Pitfalls & Engineering Notes
To protect the internal liquid crystal matrix, avoid installing this HMI in positions subjected to prolonged direct sunlight or close proximity to thermal radiating bodies like continuous-duty breaking resistors. Confirm that any adjacent variable speed drives have adequate electrical shielding to prevent high-frequency noise interference over the serial communication paths.
Commissioning & Wiring Tips
Ensure a dedicated functional ground wire (Class D grounding, wire size 2 mm squared or larger) is routed directly to the system backplate. Running HMI ground connections in common loops with high-inductive loads can lead to touchscreen input instability or communications dropouts.
Installation Guidelines
CRITICAL WARNING:
Isolate and lock out all upstream electrical power supplies prior to panel mounting or interface wiring. Verify with an active voltmeter that the 24V DC input cable is fully de-energized. Performing connections on live terminals will damage delicate internal transceiver chips and void product certifications.
1
Perform panel-cutout procedures to accommodate the physical dimensions of the HMI unit. Clean and deburr all sheet metal edges before fitting.
2
Insert the rubber waterproofing gasket into the HMI channel. Place the unit into the panel opening and verify the gasket is seated flat to ensure IP67F sealing performance.
3
Tighten the physical mounting brackets around the back of the HMI frame using a progressive star pattern. Avoid over-tightening to prevent plastic frame deformation.
4
Terminate the 24V DC auxiliary lines and separate communication cables to their dedicated ports before initiating power commissioning checks.