Description
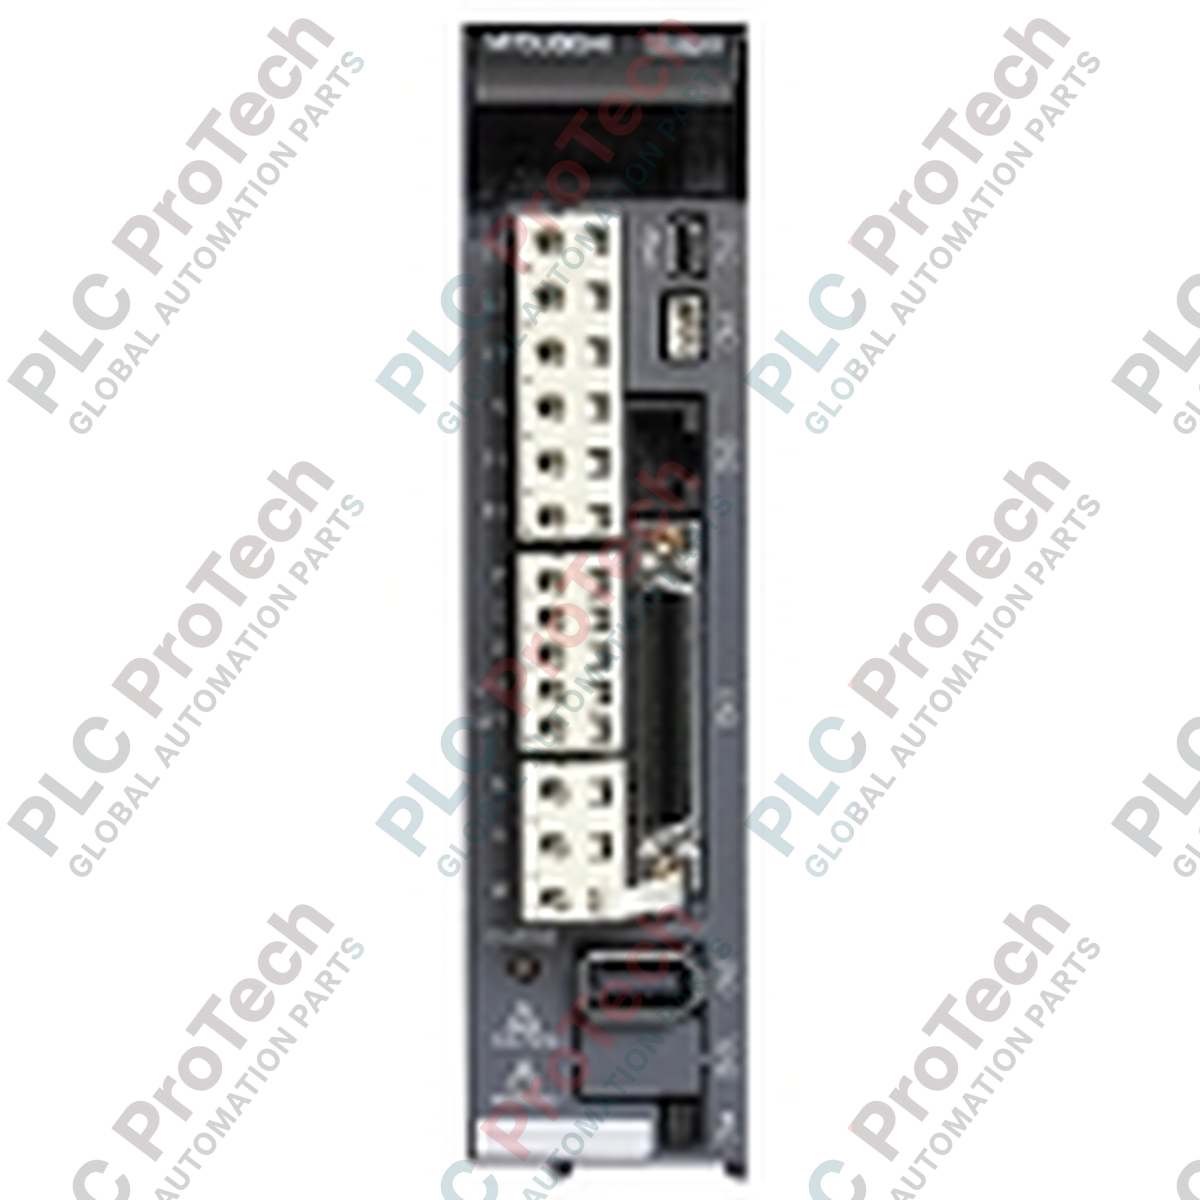
Operating as a high-performance motion control component, the Mitsubishi Electric MR-J3-70A AC servo amplifier delivers precise torque, speed, and position control within the MELSERVO MR-J3 product range. This 700-Watt unit relies on a general-purpose command interface, allowing seamless integration into automation architectures using pulse train inputs or analog voltage signals. By processing high-resolution feedback from 18-bit absolute and incremental encoders, the drive guarantees exceptional speed constancy and positioning accuracy even under dynamic loads. Integrated adaptive vibration suppression automatically adjusts to minimize mechanical resonance on mechanical linkages, making it highly reliable for demanding high-duty manufacturing setups.
Features
-
Flexible Interface Option: Supports general-purpose command systems, accepting differential or open-collector pulse trains and +-10 VDC analog inputs.
-
Advanced Vibration Suppression: Employs adaptive vibration filters to automatically detect and counteract mechanical resonances in machine structures.
-
Real-Time Auto-Tuning: Automatically optimizes servo gains based on continuous load inertia calculations for simplified commissioning.
-
Absolute Encoder Integration: Compatible with 18-bit (262,144 pulses/rev) high-resolution feedback systems to eliminate the need for homing routines.
-
Integrated Protection Circuits: Features built-in overcurrent, regenerative overvoltage, overload, and encoder error protection.
Applications
- Semiconductor manufacturing equipment and high-speed wafer handling systems.
- Automated packaging, labeling, and bottle-filling machinery.
- Multi-axis CNC machine tool feed systems.
- Precision pick-and-place robotic arms and Cartesian gantries.
Technical Specifications
| Parameter |
Value |
| Manufacturer |
Mitsubishi Electric |
| Model Number |
MR-J3-70A |
| Control Interface |
General-Purpose (Pulse Train / Analog Voltage) |
| Rated Output Power |
0.7 kW (700 Watts) |
| Main Power Supply Input |
3-phase or 1-phase 200 to 230 VAC, 50/60 Hz |
| Control Circuit Power Input |
1-phase 200 to 230 VAC, 50/60 Hz |
| Rated Output Current |
5.8 A |
| Compatible Servo Motors |
HF-KP73, HF-MP73, HF-SP81 |
| Cooling Method |
Natural Cooling |
| Operating Temperature |
0 to 55 Celsius (non-freezing) |
| Ambient Humidity |
Max 90% RH (non-condensing) |
| Shipping Weight (Calculated) |
2.5 kg |
Empirical Engineering Insights
Alternative Models & Compatibility
The MR-J3-70A general-purpose drive utilizes standard terminal layouts and I/O connections that differ significantly from its network-based counterpart, the MR-J3-70B (which utilizes optical SSCNET III). If upgrading an older system running the MR-J2S-70A series, note that the physical dimensions and parameter mapping have changed. Use the MR Configurator software migration utility to properly translate system gains and electronic gear ratios to prevent mechanical binding on start-up.
Application Pitfalls & Engineering Notes
When utilizing this drive with high-inertia loads or in vertical lift configurations, the integrated regenerative resistor may experience thermal saturation. If the drive regularly triggers an AL.30 (Regenerative Overvoltage) fault during rapid deceleration, disconnect the built-in jumper between the P+ and C terminals and install an appropriately rated external regenerative resistor options. Ensure parameter PA02 is updated to reflect the external resistor installation.
Commissioning & Wiring Tips
To prevent electromagnetic interference from disturbing sensitive analog inputs or causing encoder signal degradation, ensure that the encoder cable is routed separately from the U/V/W motor output wires by a minimum of 10 cm. Always ground the shield of the feedback cable to the amplifier's internal ground plate via a grounding clamp, and do not daisy-chain the PE (protective earth) connection with other electrical equipment.
Installation Guidelines
CRITICAL WARNING: Hazardous high voltage remains present on the main terminal block and internal capacitors even after turning off the power. Disconnect all primary power lines and wait at least 10 minutes for internal charges to dissipate. Confirm that the physical charge LED indicator on the drive's front panel is completely extinguished before initiating any terminal connection work.
1
Mount the amplifier vertically on a flat, vibration-free surface inside an enclosed metal cabinet. Retain a clearance of at least 10 mm on both sides and 50 mm above and below the housing to maintain convective airflow.
2
Connect the control power input to the L11 and L21 terminals, and the main power supply to L1, L2, and L3 (or L1 and L2 for single-phase configurations) utilizing recommended protective circuit breakers.
3
Wire the motor output terminal blocks U, V, and W directly to the servo motor power plug. Verify terminal phases match; running a motor with mismatched phases can cause uncontrolled runaway motion.
4
Insert the feedback cable into CN2 and connect your external positioning controller or command module into CN1. Verify all shield ground clips are tight and grounded to the common backplane.